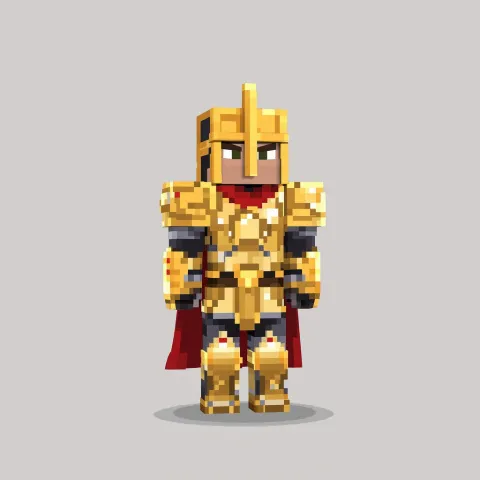
Describe your character's hair, clothing, materials and patterns. Rotate the preview, then use the standard 64×64 skin file in Java or a supported Bedrock import flow.
Output: a Minecraft skin PNG. Any purchase unlocks skin-file downloading.
Choose Image → Skin on the generation screen and upload a reference. Specify the features to keep and details to change. Fine photographic detail is adapted to the 64×64 skin surface.
Output: a skin with a 3D preview; an exact photographic likeness is not guaranteed.
Explain how features belong together instead of writing a long bag of keywords. Use these four steps as a starting point.
01
Define the character
Go beyond ‘cyborg’: describe an organic face, metal plating or a mechanical arm. Visible features clarify the interpretation you have in mind.
02
Bind colour to a part
Write ‘black metal arms with yellow joint details’ instead of only ‘black and yellow’. Specify eye, hair and clothing colours separately.
03
Scope your changes
For a reference, try ‘change only the jacket to blue; keep the hair, eyes and stripes unchanged’. Describe front and back details separately.
04
Inspect the result
Check the face, arms, back view and file type before downloading. Small lettering and intricate detail may disappear at low resolution.
Choose credits for your project
Skin credits are for skin generation. The image studio uses general credits or subscription credits. Each request's cost depends on the model, quality and output count; a pack's credit count does not promise the same number of outputs.